
I recently configured HashiCorp’s Vault to integrate with our SSO provider, Keycloak, using OpenID Connect.
Prerequisites:
- Ensure you have a running and unsealed Vault instance.
- Vault URL:
https://vault.example.com
- Vault URL:
- Have administrative access or the ability to manage a Keycloak realm.
- Keycloak URL:
https://idms.example.com
- Keycloak URL:
Keycloak

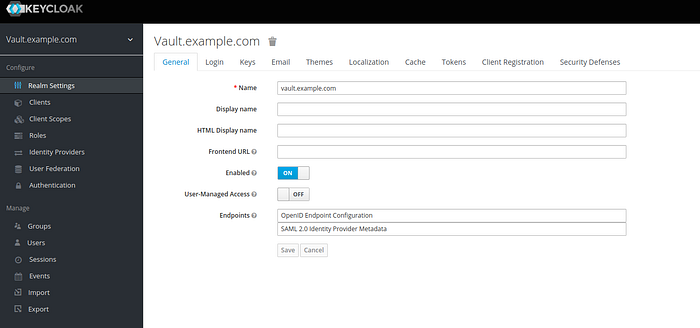
- Go to your realm
- Realm Settings > General
Name = vault.example.com
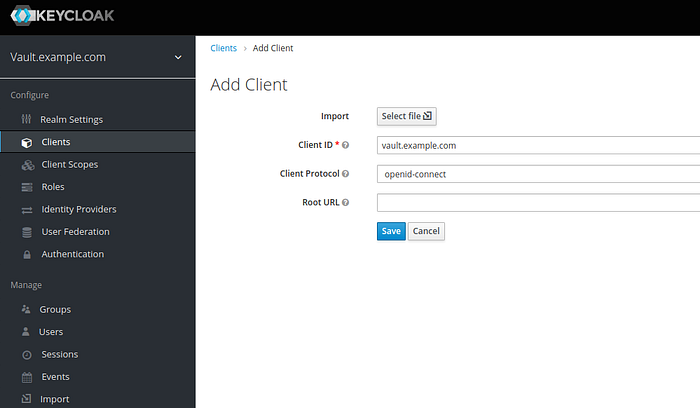
- Clients > create
Client ID = vault.example.com
Client Protocol = openid-connect
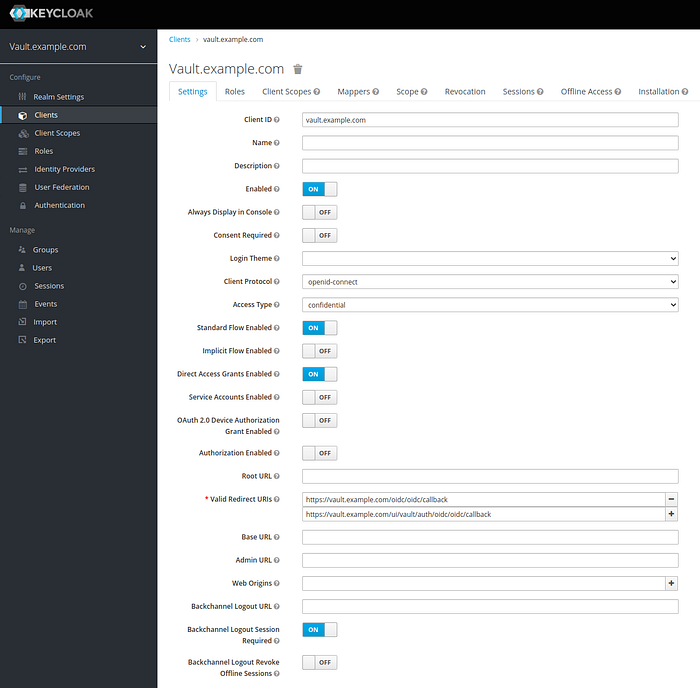
- Clients > vault.example.com
Client ID = vault.example.com
Access Type = confidential
Valid Redirect URIs =
https://vault.example.com/oidc/oidc/callback
https://vault.example.com/ui/vault/auth/oidc/oidc/callback
save
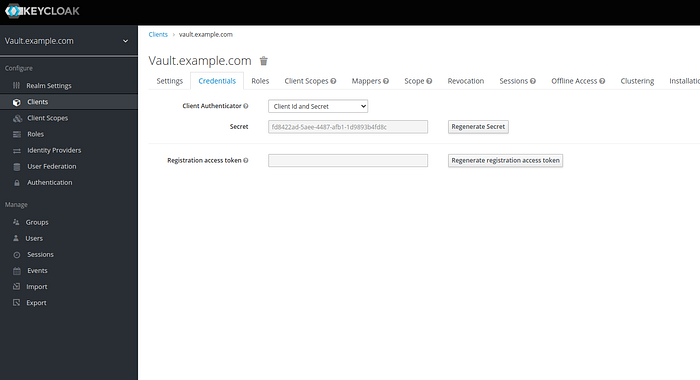
- Clients > vault.example.com > Credentials > Secret (I refer as OIDC-Client-Secret later)
Vault (cli)

export VAULT_TOKEN=<your root or access token>Enable OIDC as authentication mechanism
$ vault auth enable oidcWrite the OIDC Configuration
$ vault write auth/oidc/config \
oidc_discovery_url="https://idms.example.com/auth/realms/vault.example.com" \
oidc_client_id="vault.example.com" \
oidc_client_secret="<OIDC-Client-Secret>" \
default_role=reader
Create a policy file reader.hcl
path "/secret/*" {
    capabilities = ["read", "list"]
}
Import the policy to vault
$ cat reader.hcl | vault policy write reader -Deploy a Role for OIDC
$ vault write auth/oidc/role/reader \
bound_audiences="vault.example.com" \
allowed_redirect_uris="https://vault.example.com/oidc/oidc/callback" \
allowed_redirect_uris="https://vault.example.com/ui/vault/auth/oidc/oidc/callback" \
user_claim="sub" \
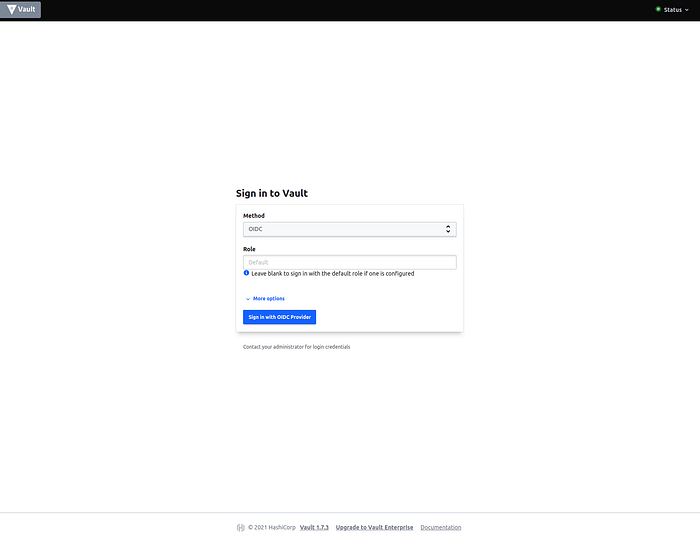
policies=readerLogin to Vault using OIDC and Keycloak
Go to Vault https://vault.example.com
A new window will be opened, where you’ve to type your credentials.
After putting in the correct credentials you’ve to wait a second till the window will be closed.
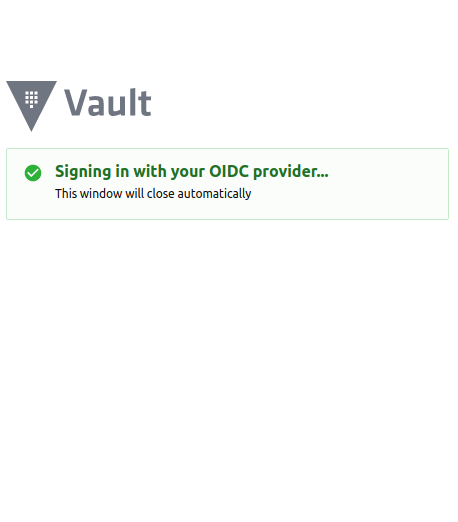
Now you should be able to use Vault according to the policy you’ve created earlier.
Troubleshooting
Custom CA for web certificates are in place
Error writing data to auth/oidc/config: Error making API request.URL: PUT http://127.0.0.1:8200/v1/auth/oidc/config
Code: 400. Errors:* error checking oidc discovery URL: error creating provider with given values: NewProvider: unable to create provider: Get "https://idms.example.com/auth/realms/vault.example.com/.well-known/openid-configuration": x509: certificate signed by unknown authority
You’ve to add your certificate chain to the request, see step Write the OIDC Configuration
Sources:
- https://www.vaultproject.io/api-docs/auth/jwt
- https://www.vaultproject.io/docs/auth/jwt/oidc_providers
- https://www.youtube.com/watch?v=PNtRk3wRtWM&t=564s